How Card Grading Works in 2026
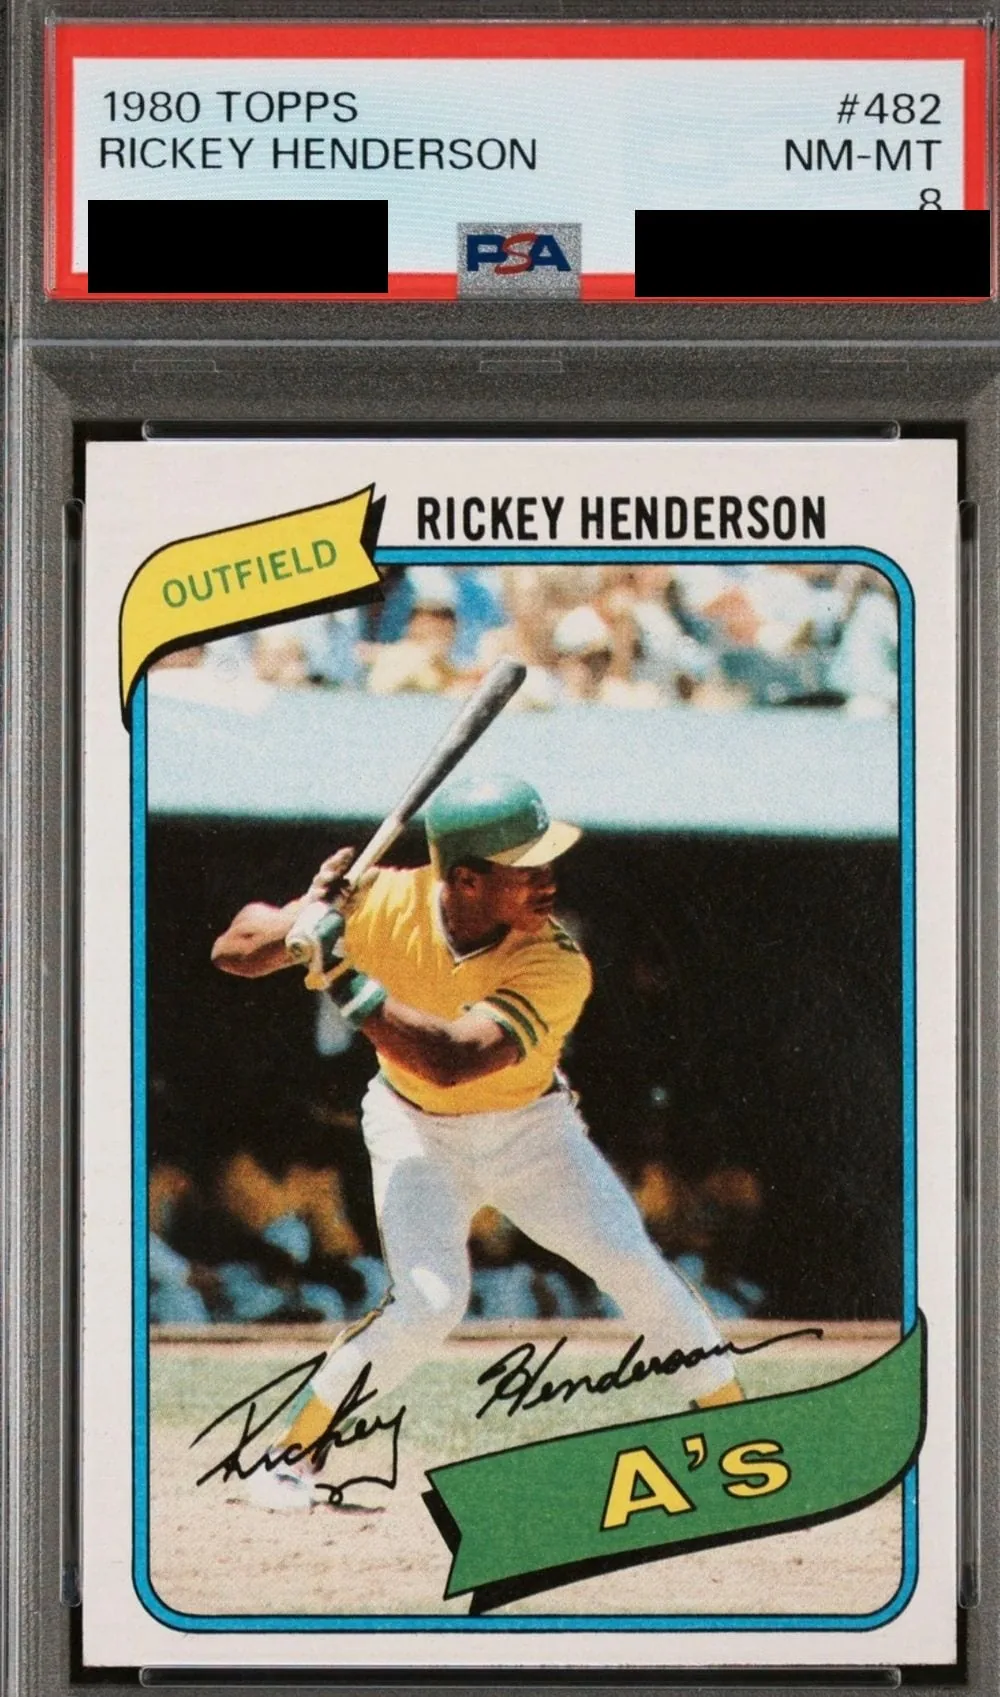
If you’ve never sent a card to be graded, the whole thing feels like a black box. You mail a piece of cardboard to a company in California, money leaves your account, and months later a sealed plastic slab shows up with a number on it. What actually happens in between?
I’ve been through it plenty of times, so let me walk you through the entire process — start to finish — the way it actually works, not the way a brochure describes it. We’ll cover the part you control (prepping and shipping), and the part you don’t (what happens inside PSA while you wait and sweat).
This is the how-it-works piece. If you’re trying to decide whether a card is even worth grading, that’s a different question with its own math — see Is It Worth Grading Your Card in 2026?. Here, let’s assume you’ve decided, and you just want to know how it works.
Step 1: Prep the card (this is where beginners mess up)
Before anything goes anywhere, the card has to be protected the right way. Not over-protected, not under-protected — the right way.

Here’s the stack I use, from the card outward:
- Dust it off — make sure there’s nothing on the surface before it gets sealed up.
- Penny sleeve — the card goes into a soft sleeve first.
- Semi-rigid holder — then into a semi-rigid holder (the Card Saver type). This is the part people get wrong: PSA wants a semi-rigid holder, not a hard toploader. The whole game is making the graders’ job easy — if they want it in a Card Saver, you give it to them in a Card Saver. Use the wrong one and you’re asking for delays.
- Cardboard sandwich — two thick pieces of cardboard, one on each side, to keep it from bending in transit.
- Blue painter’s tape — tape the cardboard sandwich together with blue painter’s tape.
That blue tape, by the way, is practically a secret handshake in this hobby. If you don’t know about the blue tape, you don’t really know the hobby yet — it’s the standard, and a bit of a running joke. It holds everything tight but never leaves residue, and it peels off clean on the other end with no fighting. Regular tape and packing tape can tear or leave a sticky mess; blue painter’s tape just comes right off. And you never, ever let any sticky tape touch the card itself.
Then the whole cardboard-and-card sandwich goes into a small box with padding around it so nothing shifts in transit.
Step 2: Submit it on the PSA website
With the card prepped, you head to the PSA website and start the submission. It’s simpler than people expect.
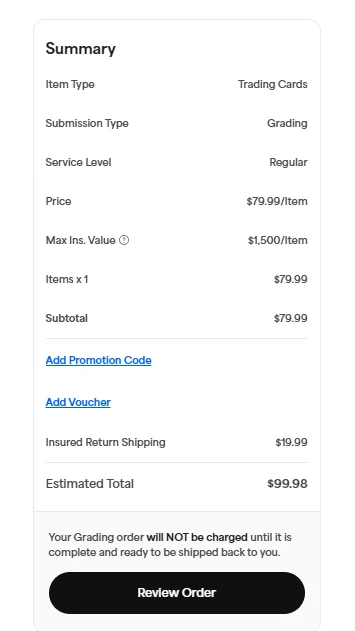
You pick your service level (this sets your price and your turnaround time), then start typing the name of the card. PSA’s system auto-populates it — you find your card in the list, click it, and it gets added to your order. Confirm, and submit.
That’s the easy part; the site walks you through it. The decisions that actually matter — which service level, and whether the card is even worth grading in the first place — are the ones to think hard about before you click go.
At the end, PSA gives you about six forms to print out. Some go with the box, one is yours to keep — and this is where first-timers get confused, so let me break them down.
The six forms, explained
When you print your submission, here’s what you’re looking at:
- Submission ID label — a tiny barcode label. You cut this out and tape it to the outside of the box.
- PSA Copy #1 — PSA’s inventory of what’s supposed to be in the box.
- Submission / tracking form (PSA copy) — has a barcode and the return address, plus a bunch of fields marked “PSA use only”: service level, quantity, date, time.
- Another PSA form — fields like order number, package number, date received, verified by, and a code.
- Customer Copy — your copy, an itemized list of everything you submitted. This is the one you keep.
- PSA Submission Form — your return address, order details, and another barcode. This goes inside the box.
The rule of thumb that makes this simple: everything goes in or on the box except the Customer Copy. That one stays with you — it’s your proof and your record.
And about the outside of the box: the only things that go on the outside are the PSA Submission ID barcode label and your shipping label. Everything else goes inside. Don’t bury the barcode where the carrier can’t scan it, and don’t seal an inside form to the outside.
Step 3: Ship it smart (and don’t overpay)
Once your cards are loaded into the submission, you’ve actually got a choice in how it gets to PSA. You can ship it yourself, or — if you’re lucky enough to live near one — drop it off at a PSA event. Those are rare, but they exist, and dropping off in person saves you the inbound shipping cost.
For shipping it myself, here’s where a little hobby knowledge saves money:
- Use your own small box, not a USPS Priority box. The Priority boxes cost more to ship and you don’t need them for a normal submission. I prefer a box over a bubble mailer, too — less chance of damage.
- Print your own label on Pirate Ship. I don’t have to stand in the regular post office line — I walk in, drop the box, walk right out. The rates are discounted, similar to eBay’s, and it’s just easy.
Here’s my simple rule that ties shipping and insurance together:
- Under $1,000: ship USPS Ground Advantage, skip the insurance. I’ve never had a package get lost at this level.
- Over $1,000: ship it Priority, and insure it. I’ve got a submission going right now that’s ten thousand dollars-plus worth of cards — that one absolutely gets insured. Match the protection to what’s actually in the box.
Step 4: Into the black box — the PSA stages explained
Here’s the part nobody explains clearly, and it’s the part that drives first-timers crazy.
First thing to know: PSA won’t tell you they got your card. There’s no welcome email, no “we received your package” notification — they don’t acknowledge it until they check it in on their end. So the only way you know it actually arrived is your own tracking number saying delivered. Watch your tracking, not your PSA account, for that first confirmation. Don’t sit there refreshing your inbox waiting for PSA to say hello — they won’t.
Once they check it in, your order moves through a series of stages in your PSA account. Here’s what each one means, in order:
- Order Arrived — they’ve received and checked in your package.
- Order Prep — they’re getting your order ready to work.
- Research & ID — they identify and verify exactly what your card is.
- Grading — the actual grading happens here.
- Assembly — the card gets paired with its label and slab.
- Grades Ready — grading’s done, results are in the system.
- QA Check — a quality-control pass.
- Completing — final steps before it ships back.
PSA doesn’t really spell out what each stage means, so collectors stare at these labels for weeks with no clue. Now you’ve got the map — check your card against it while you wait.
Which stage takes forever? Grading.
If your card seems stuck for months, it’s almost certainly parked in the Grading stage. That’s the bottleneck, easily. I’ve had cards sit in grading for six months back during COVID. It moves quicker now, but the other stages move fast and grading is where the waiting really lives. So when you’re 40-some days in and nothing’s changing, that’s why — and it’s normal.
The reveal: open the email, or stay blind?
Here’s a fun part. When your order hits Completing, PSA usually sends you an email with your grade — and if you open it, you’ll see exactly what your card got, often with a fresh scan of the slabbed card. It’s pretty cool.
But you’ve got a choice. Some people refuse to look — they’d rather wait, let the package show up, and open it blind for the full thrill of not knowing. I’m the opposite: I don’t like surprises, so I always open it the second it lands. There’s no wrong answer. It’s your card and your moment; take it however it’s most fun for you.
Step 5: What comes back
Then PSA ships the slab home with a tracking number. The card arrives in a box from PSA, and inside, your card is in the PSA slab with a team bag over the slab to protect it in transit.
The slab itself has the card’s information printed on the label — year, set, card number, player. So a slab might read 1989 Upper Deck #1, Ken Griffey Jr. — and then the grade, with its word designation next to the number.
The PSA grade scale
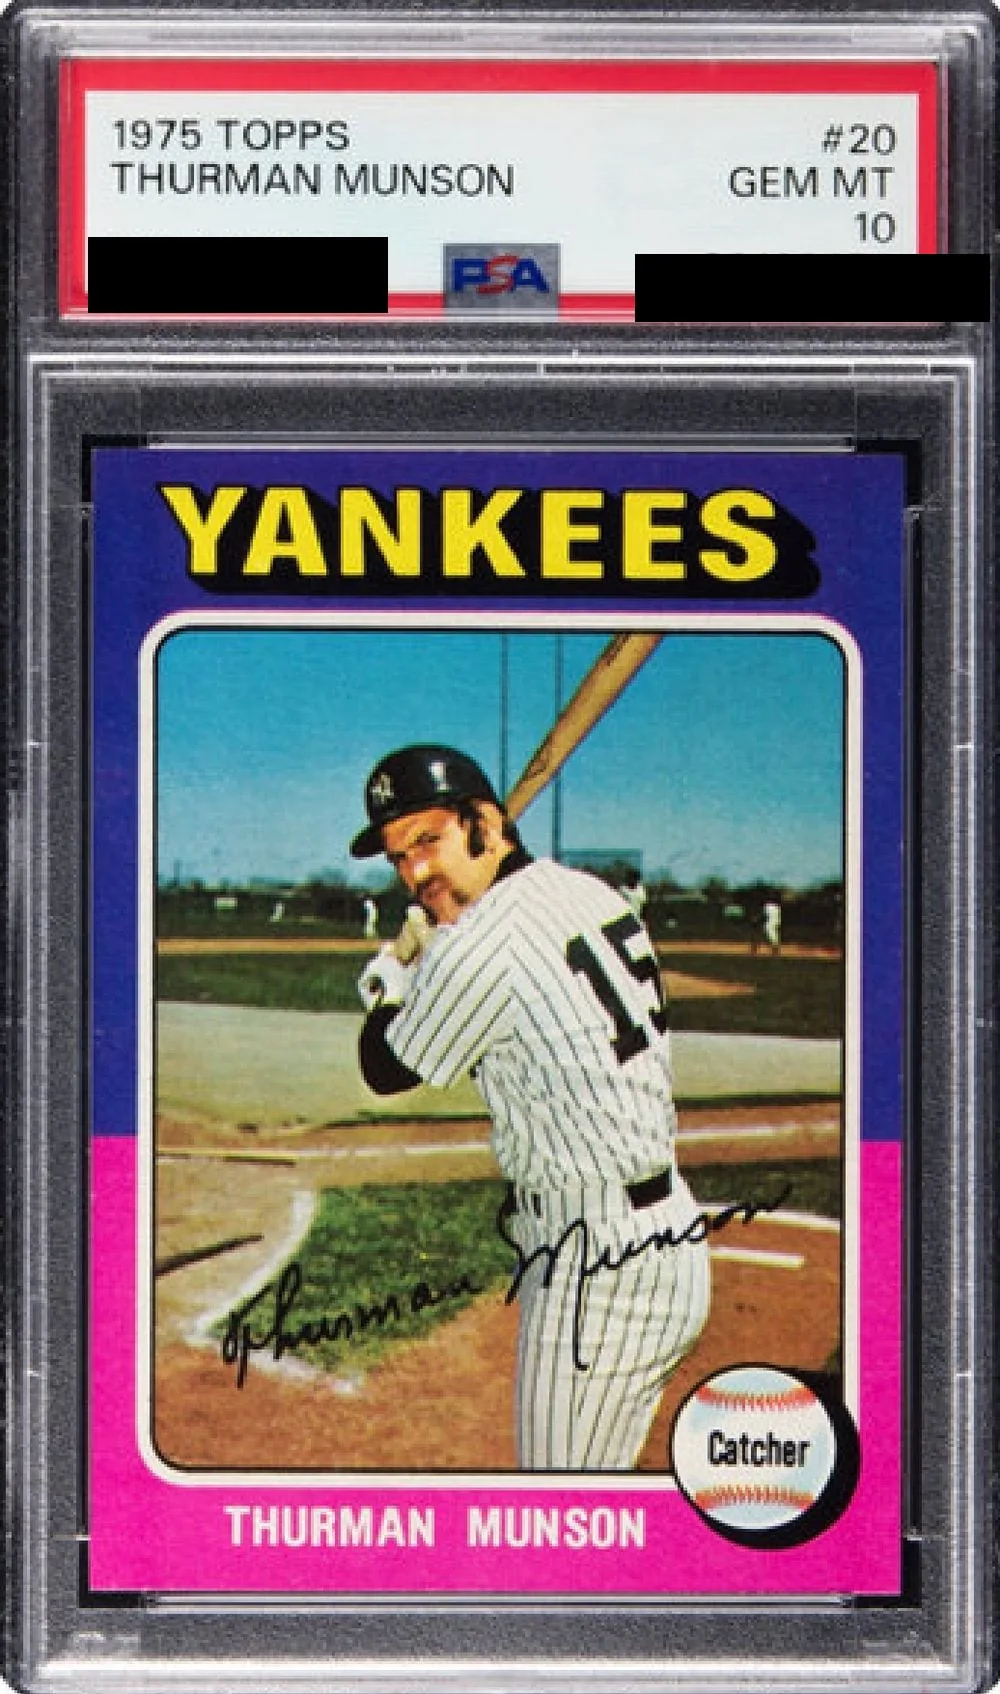
That number on the label is the whole point, so here’s what each grade means. PSA runs from 1 to 10:
| Grade | Designation |
|---|---|
| 10 | Gem Mint |
| 9 | Mint |
| 8 | Near Mint–Mint |
| 7 | Near Mint |
| 6 | Excellent–Mint |
| 5 | Excellent |
| 4 | Very Good–Excellent |
| 3 | Very Good |
| 2 | Good |
| 1.5 | Fair |
| 1 | Poor |
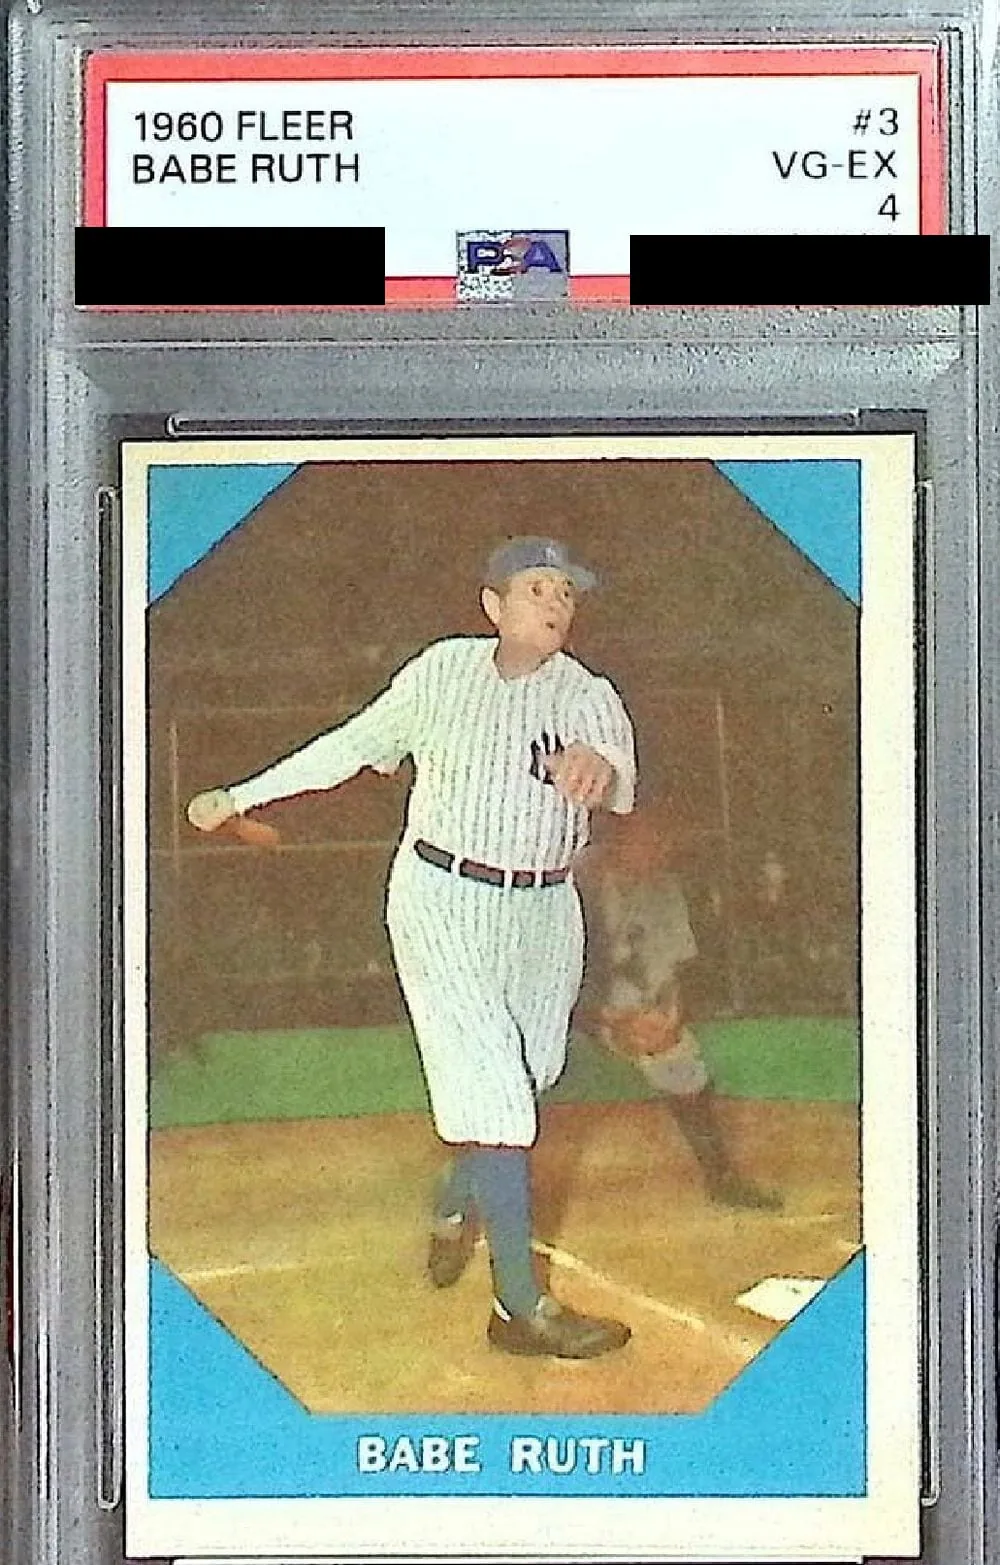
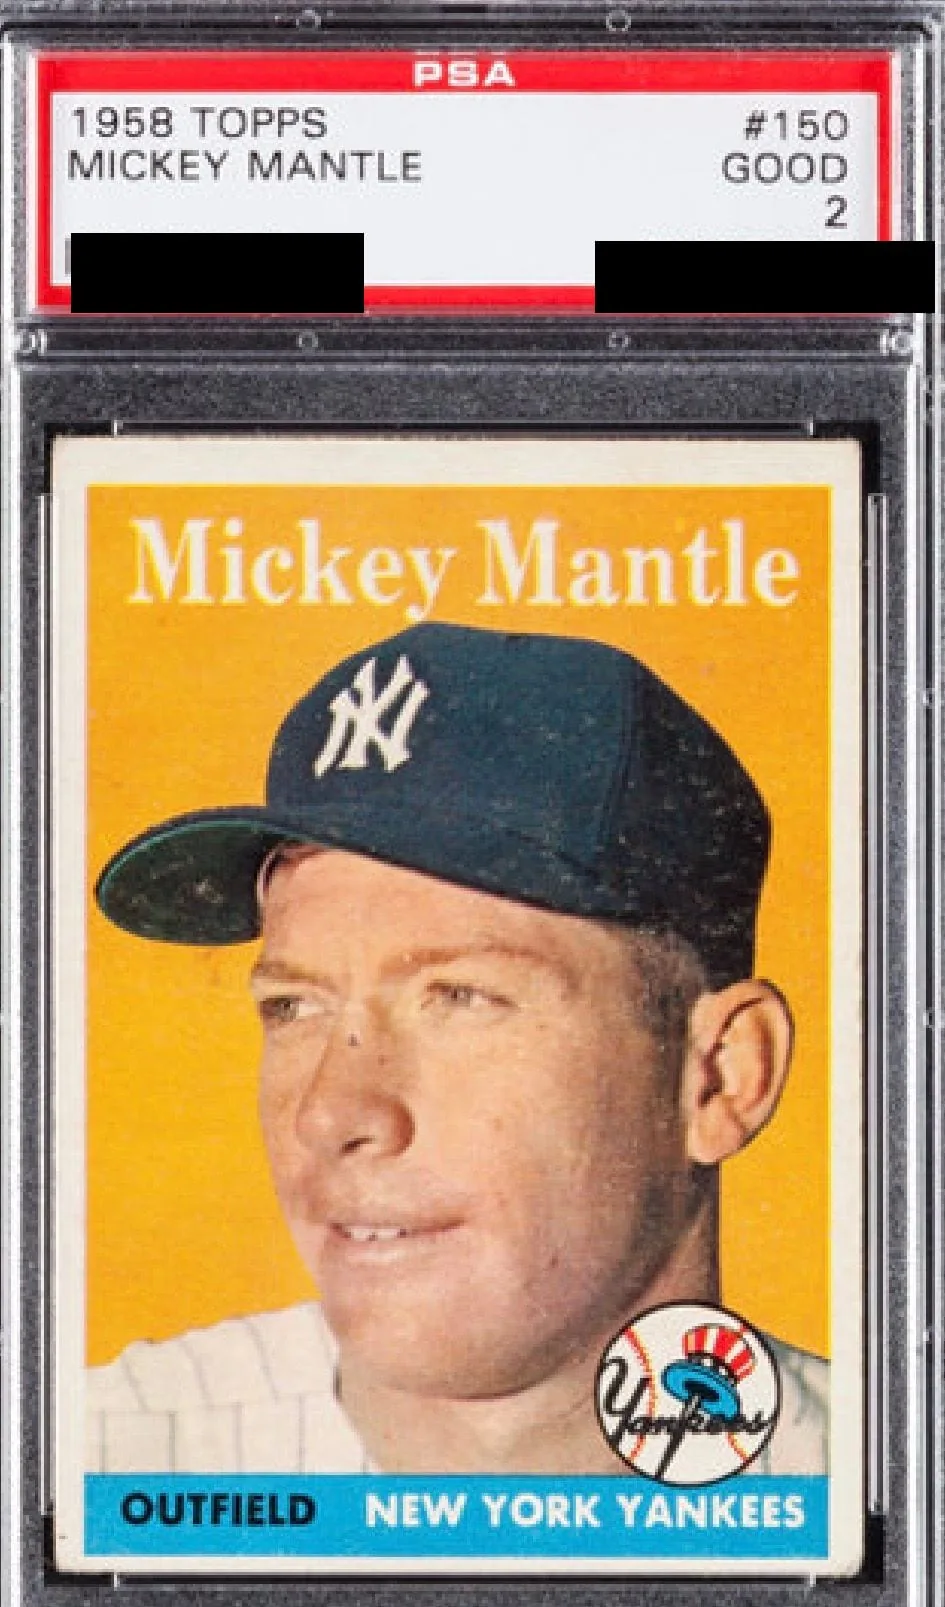
A couple of things worth knowing. PSA grades in whole numbers, with one half-grade — PSA 1.5 — at the very bottom; there aren’t half-grades scattered up and down the scale. And in practice, once you’ve been in the hobby a while, you stop using the word designations entirely. Say “PSA 9” and everyone knows exactly what you mean — you rarely hear anybody say “Mint” out loud. The number is the language.
One more choice: where the card goes after grading
There’s a decision at the back end too, and a lot of first-timers don’t realize they have options. When you submit, you tell PSA what you want done with your cards once grading is finished:
- Ship them back to you — the default, and what most people do.
- Send them to the PSA Vault — PSA holds the slab in storage for you, handy if you’re planning to sell or trade without ever taking physical possession.
- Have PSA auction them on eBay for you — PSA handles the sale on your behalf.
Which one you pick depends on what you’re trying to do — keep it, store it, or sell it — but the choice is yours, on both ends of the process.
One piece of advice for your first submission
If I had one thing to tell someone grading a card for the first time, it’s this: expect the unexpected. Chances are the grade won’t be exactly what you think it’s going to be.
PSA has ways of grading cards that you and I don’t — who knows what equipment they use, or what they can see that you can’t. So have fun with it, but don’t expect to get rich because of it. Enjoy the process, respect the surprise, and keep your expectations honest. That’s the whole game.
Related articles
-
PSA Paused Cheap Grading. Here Is the New Breakeven Math.
PSA suspended its Value tiers in June 2026, tripling the entry price of grading. What that do… Read the guide → -
Is It Worth Grading Your Card in 2026?
A real-card breakeven walkthrough on a 1957 Topps Mantle — why the grading fee is not the rea… Read the guide → -
1955 Topps Checklist, Rookies and Complete Set Guide
A practical guide to the 206-card 1955 Topps baseball set, including key rookies, stars, card… Read the guide →